Have you been thinking about getting started with 3D printing? Maybe you just purchased your first 3D printer, or you’re looking for the right tools and supplies to make the most of it. Either way, I’m sharing some of my favorite 3D printing essentials to help you get started!

Getting Started with 3D Printing
I’ve been 3D printing for years, long before today’s machines made it so much easier to create. Over the years, I’ve made everything from party decorations and cake toppers to custom tumbler toppers, home décor and fun little gifts.
One of my favorite things about 3D printing is being able to turn an idea into something you can actually hold in your hands. And if you’re already a crafter, it’s another creative tool with so many possibilities!
Today I’m sharing the tools I use in my studio, my favorite filament brands, how I organize and store my filament, and some easy projects you can try with your new printer. I’ll also share a few additional options worth considering as your 3D printing projects grow.
Disclosure: This post contains affiliate links. I may earn a commission if you make a purchase through my links, at no additional cost to you.
My 3D Printing Journey
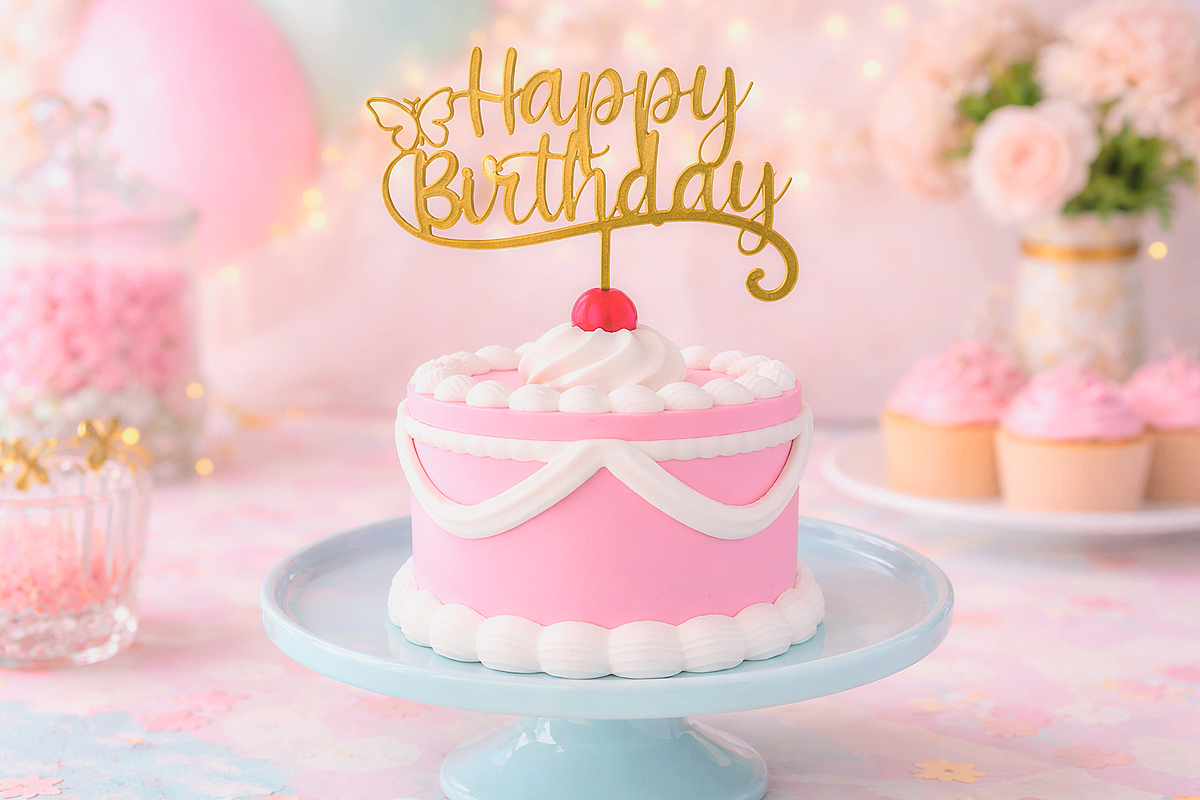
We’ve been using 3D printers at Michelle’s Party Plan-It for more than eight years, and it’s amazing how much the technology has changed.
When I first started, 3D printing required quite a bit more patience. These days, machines are faster, more accessible and easier to use.
I’ve worked with several different printers over the years, including my Bambu Lab X1 Carbon, A1 and P1S. I especially love being able to print in multiple colors without having to paint every little detail.
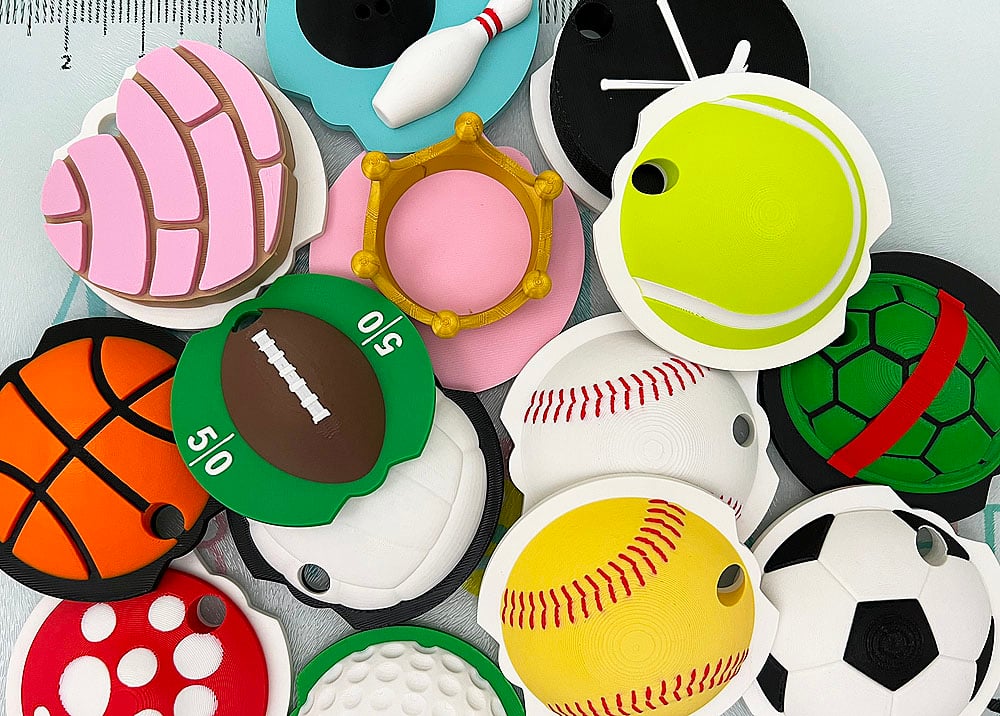
One of my favorite 3D printing projects has been developing my original custom tumbler toppers. What started as a creative idea turned into a product line in my Etsy shop, and one of my softball tumbler topper videos even reached more than 3 million views on Facebook!
You can read more about that project in my Custom 3D Printed Tumbler Toppers article.
But you don’t have to start with anything that elaborate. There are plenty of fun, simple things you can make while getting comfortable with your printer.
Essential 3D Printing Tools
You don’t need a drawer full of expensive gadgets to get started with 3D printing. In fact, you may already have several useful tools in your craft room.
Here are some of the small tools I keep on hand.
Deburring Tool
A deburring tool is handy for cleaning up rough edges and removing small bits of excess plastic from finished prints.
I use an 11-blade deburring tool with interchangeable blades. It’s a simple addition to your toolkit, especially when you’re making items that need a clean, finished edge.
Just be careful around delicate details because the blade can remove more material than you intended. Always work away from your hands when using sharp finishing tools.
Shop: Voltrish 11-Blade Deburring Tool
Small Pliers and Wire Cutters
Here’s a tool you might already have in your craft supplies!
A small jewelry plier set can be surprisingly useful for 3D printing. Needle-nose pliers help grip small supports or pieces that are difficult to reach, while wire cutters can trim filament and remove excess material.
I have a pink three-piece jewelry plier set that includes needle-nose pliers, round-nose pliers and wire cutters.
You don’t necessarily need tools marketed specifically for 3D printing. Sometimes the craft tools you already own work just fine!
Shop: Echoed Elegance 3-Piece Jewelry Pliers
Flush Cutters
Flush cutters are another handy tool for trimming filament and carefully removing small supports.
If your printer came with a pair, you may not need to purchase another set right away.
Shop: Flush Cutters for 3D Printing
Tweezers and Small Cleaning Tools
Precision tweezers can help remove little strands of filament or reach into tight areas of a finished print.
I also recommend keeping a small cleaning brush and a few microfiber cloths near your printer for routine cleanup. Follow your printer manufacturer’s instructions when cleaning the machine.
Digital Calipers
This is an optional tool that becomes more useful as you start making projects that need to fit together.
Digital calipers help measure dimensions more precisely than a regular ruler. They’re particularly helpful when you’re designing your own projects or checking the fit of printed parts.
Shop: Digital Calipers
Choosing Your First 3D Printer Filament
Filament is the material your 3D printer uses to create your projects. It comes on spools in all sorts of colors, finishes and material types.
For most beginners using a compatible filament printer, I recommend starting with PLA.
PLA is generally easy to print with and works well for decorative projects, organizers, toys and lots of everyday creative ideas.
My Favorite Filament Brands
Two brands I use most often are Overture and Polymaker.
I primarily print with standard PLA and matte PLA, depending on the project and the look I’m trying to achieve.
Overture PLA Filament
Overture is one of the brands I regularly use for my 3D printing projects. Standard PLA is a great option for getting started because it’s versatile and available in lots of colors.
Shop: Overture PLA Filament
Polymaker PLA Filament
Polymaker is another brand I frequently use, especially when I want a particular color or finish.
If you’re familiar with Polymaker’s older PolyTerra PLA, you’ll now find that filament under the Panchroma Matte name.
Shop: Polymaker Panchroma Matte PLA
Standard PLA vs. Matte PLA
Both are great options, but they create different looks.
Standard PLA generally has a slightly shinier finish. It’s versatile and works well for everyday projects, colorful accessories and decorative pieces.
Matte PLA has a softer, less reflective finish. I especially like the look of matte filament for projects where I want a more subtle, finished appearance.
If you’re just starting, I’d purchase a few basic colors of standard PLA and one or two matte colors to experiment with.
You don’t need every color available, although I’ll admit it’s tempting once you start collecting filament!
Other Filament Brands and Materials to Consider
Although I primarily use Overture and Polymaker, there are other filament brands available, including Bambu Lab and eSUN. These are additional options to research based on your printer, budget and the materials you want to use.
As you get more comfortable, you might also want to experiment with other types of filament.
- Silk PLA: A shiny, decorative finish that’s fun for ornaments and display pieces.
- PETG: A material worth exploring for certain functional projects that need more toughness or heat resistance than PLA.
- Specialty PLA: Decorative finishes and effects for projects where appearance is a priority.
Always check your printer’s material compatibility and the manufacturer’s recommended settings before trying a new filament.
For your first few projects, there’s no need to complicate things. Standard and matte PLA give you plenty of creative options.
How I Organize My 3D Printer Filament
Once you start collecting filament, you’ll quickly realize that storage is something worth thinking about!
I like having my filament organized so I can easily see the colors I have available when planning a project.
Rolling Filament Storage Rack
One of my favorite storage solutions is my white three-tier rolling filament rack.
It’s advertised to hold up to 40 spools, depending on their sizes, and the wheels make it easy to move around my studio.
I like being able to organize my filament by color and see what I have without digging through boxes.
It’s especially useful when I’m working on projects that require several colors.
Shop: AHOWPD 3-Tier Rolling Filament Storage Rack
Vacuum Storage Bags for Filament
Keeping filament organized is one thing, but keeping it protected from moisture is another.
Filament can absorb moisture from the air, which may affect print quality.
I use Vacbird filament storage bags with a USB vacuum pump to store spools between projects.
These bags are designed to accommodate common filament spool sizes, and the pump makes removing excess air convenient.
For additional moisture protection, you can use suitable desiccant packets inside sealed storage bags.
Shop: Vacbird Filament Storage Bags with USB Pump
Other Filament Storage Options
If you don’t have room for a rolling rack or prefer a different setup, there are several other options worth considering.
Airtight Storage Containers
Clear, airtight containers can be useful for protecting filament from humidity while keeping spools organized.
You can also add desiccant packets and a small hygrometer to help monitor the conditions inside the container.
Shop: Airtight Storage Containers
Filament Dryers
A filament dryer is another option, particularly if you live in a humid environment or frequently work with moisture-sensitive materials.
Unlike sealed storage containers, a dryer is designed to actively remove moisture from filament.
This isn’t something everyone needs to purchase immediately, but it’s worth knowing about as you expand your filament collection.
Explore: Filament Dryer Options
Wall-Mounted or Stackable Spool Racks
If floor space is limited, wall-mounted racks and stackable storage systems may be a better fit.
You can even 3D print some of your own storage accessories!
Storage Tip: Open filament racks are great for organization, but they don’t protect filament from humidity. I recommend keeping moisture-sensitive or unused spools in properly sealed storage when needed.

Where to Find 3D Printing Files
You don’t have to design everything from scratch to enjoy 3D printing.
There are websites where designers share ready-to-print files for everything from practical organizers to seasonal decorations and fun toys.
Here are a few places to explore:
MakerWorld
A great resource for finding 3D printing projects, particularly if you use a Bambu Lab printer.
Printables
Another popular resource with a large selection of printable designs, including tools, organizers, home accessories and decorative projects.
Thingiverse
One of the longstanding communities for sharing 3D printing files.
Important: Be sure to read the license for any design you download, especially if you plan to sell your finished prints. A file being available for download doesn’t automatically mean you have permission to sell products made from it.
Five Easy First 3D Printing Projects
Now for the fun part!
Once you have your printer ready and a spool of PLA loaded, it’s time to make something.
Here are a few projects that are fun to try without jumping straight into something overly complicated.
1. A Small Desk Organizer
A pencil cup, small tray or craft tool holder is a great first project because it’s practical and easy to use.
Plus, you can choose a filament color that coordinates with your workspace.
2. A Simple Bookmark
If you love books, planners or Bible journaling, a 3D printed bookmark is a fun little project.
Look for a thin, beginner-friendly design without lots of tiny details.
3. A Mini Articulated Animal
These little animals are so much fun!
Many are designed to print in place, meaning their moving parts are printed together without additional assembly.
Choose a beginner-friendly design with good printing instructions. Some articulated designs are more challenging than others.
If you’re printing toys for young children, pay attention to small detachable parts and age-appropriate safety considerations.
4. Cable Clips or Small Organizers
Need a way to organize charging cords or small items around your desk?
3D printing is great for making little functional accessories.
These projects also let you experiment with different colors without using an entire spool of filament.
5. A Small Seasonal Decoration
One of the reasons I love 3D printing is being able to make decorations for holidays and celebrations.
Try a simple ornament, decorative shape or small tabletop accent.
Once you get comfortable with basic prints, you can move on to more elaborate projects with multiple colors and pieces.
What You Don’t Need to Buy Right Away
It’s easy to get carried away buying accessories when you’re starting a new hobby, but you really don’t need everything at once.
I’d start with a few spools of PLA, some basic tools and a practical way to store your filament.
You can always add specialized tools, additional filament types and more elaborate storage solutions as your projects become more advanced.
I’d rather spend my time creating than collecting gadgets I never use!
A Few Tips Before Your First Print
Before printing, make sure you’ve followed your printer manufacturer’s setup instructions and have a suitable, well-ventilated printing area.
- Start with a small project using a recommended material profile for your printer.
- Check that your filament is compatible with your machine.
- Keep your printing surface clean according to the manufacturer’s instructions.
- Allow the build plate to cool before removing finished prints when appropriate for your plate and material.
- Keep sharp finishing tools safely stored when not in use.
- Choose a project you’re excited to make!
My 3D Printing Essentials Shopping List
Ready to put together your own 3D printing workspace? Here are the supplies and accessories featured in this guide.
- Voltrish Deburring Tool
- Echoed Elegance Jewelry Pliers
- Flush Cutters
- Digital Calipers
- Overture PLA Filament
- Polymaker Matte PLA Filament
- AHOWPD Rolling Filament Storage Rack
- Vacbird Vacuum Filament Storage Bags
- Airtight Filament Storage Containers
- Filament Dryer Options

Keep Creating!
3D printing opens up so many creative possibilities, whether you’re making something for your home, creating gifts, organizing your craft room or developing your own original designs.
After years of 3D printing, I’m still finding new ways to use my machines, and that’s what keeps it exciting.
I hope this guide helps you find a few useful tools, choose your first filament colors and get inspired to start creating.
And when you’re ready to see what else you can make, be sure to check out my custom 3D printed tumbler toppers.
Happy creating and God Bless!

- How to Print Your Own Fabric with DTF
- xTool WonderPress Review: My New Favorite Heat Press?
- xTool Apparel Printer Plus Review: Have I Found My New Favorite DTF Printer?
- How to Make a 3D Composition Notebook with Cricut
- What Caught My Attention at PRINTING United Expo 2026
- How to Emboss Acetate and Composition Notebook Covers