Hey there, crafty friends! I’m Michelle from Michelle’s Party Plan-It, and I’m so excited to share a fun, step-by-step tutorial with you today on how to use your Cricut machine to make adorable paper bows. These little beauties are perfect for topping gifts, decorating party favors, or adding a cute touch to your craft projects. If you’ve got a Cricut and a love for all things DIY, you’re in the right place! I’ll walk you through every detail so you can create your own paper bows like a pro. Let’s get crafting!
Disclosure: This post contains affiliate links and I will be compensated if you make a purchase after clicking on my links, at no additional cost to you.
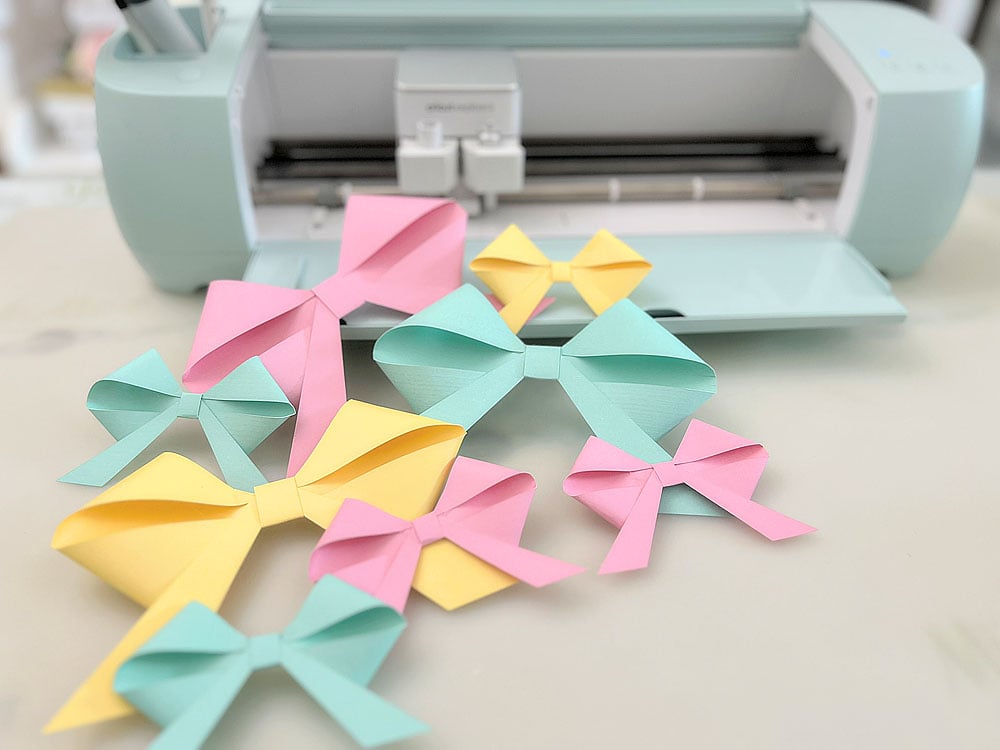
Why Paper Bows with a Cricut?
Before we dive in, let’s talk about why this project is so awesome. Paper bows are super versatile, and with a Cricut, you can whip them up in no time. No more tedious hand-cutting or guessing sizes—your Cricut does the heavy lifting, leaving you with perfectly shaped bow pieces every time. Whether you’re prepping for a birthday bash, a holiday gift-wrapping marathon, or just want to add some flair to your craft stash, these bows are a game-changer. And the best part? You can customize them with any paper you love—think glitter, patterns, or even your kiddo’s artwork. Ready? Let’s do this!
What You’ll Need
First things first, let’s gather our supplies. Here’s what you’ll need to make these paper bows:
- Cricut Machine: I’m using my Cricut Explore 3, but this works with any Cricut model—Maker, Joy, you name it!
- Cutting Mat: A Standard Grip Mat works great for paper.
- Paper: I’m using 65 lb 12×12 cardstock for durability, but you can experiment with lighter or heavier weights. Glitter cardstock adds a fun sparkle! Double sided prints will look amazing as well!
- Glue: A hot glue gun is my go-to for quick assembly, but craft glue works too if you’re crafting with little ones.
- Cricut Design Space: Make sure you’ve got this loaded on your computer or device.
- Bow Design File: I’ve created a simple Cricut Design Space file for this tutorial. Sign up below for my newsletter for the project link.
Got everything? Awesome! Let’s move on to the fun part.
Setting Up in Cricut Design Space
Alright, fire up your Cricut Design Space—it’s time to get that bow design ready. Open my file in Design Space and click “customize” to get started.
Now, let’s talk size. For these bows I sized them to maximize the 12×12 page, but feel free to size it to your needs. You can adjust this by selecting the design, then dragging the resize arrows or typing a width in the top toolbar. Keep the proportions locked so everything stays balanced. If you want bigger or smaller bows, feel free to play around—just make sure all pieces scale together. Once you’re happy with the size, click “Make It” in the top right corner. You’ll see a mat preview showing how the pieces will cut. Double-check that it fits your paper size (I’m using 12×12 cardstock), and if it looks good, hit “Continue.”
Picking Your Paper and Loading the Mat
Time to pick your paper! I’m obsessed with glitter cardstock for that extra pizzazz, but a solid color or fun pattern works too. Lay your paper on the Standard Grip Mat, smooth it down with your hands or a scraper tool to get rid of bubbles, and line it up with the top left corner grid. This helps the Cricut know exactly where to cut. Slide the mat under the guides on your machine, and press the flashing “Load” button (it’s the one with the arrows). The mat will slide in, and you’re ready to roll!
Back in Design Space, select “Medium Cardstock” from the material list. If you’re using something thicker like glitter cardstock, click “More Pressure” for a cleaner cut. Pop in your fine-point blade if it’s not already loaded, and you’re set.
Cutting the Bow Pieces
Here’s where the magic happens! Hit the flashing “Go” button on your Cricut, and watch it work its precision magic. The machine will cut out all the bows. It’s so satisfying to see those clean lines come to life! Once it’s done, press the “Unload” button, and gently peel the mat away from the paper (not the other way around—it helps keep your cuts crisp). If you’ve got any tiny bits stuck, use a weeding tool or scissors to tidy up.

Assembling Your Paper Bow
Now, let’s turn those flat pieces into a 3D bow! Grab your glue—I’m using my hot glue gun because it dries fast, but any strong adhesive will do. I created a video, check it out below:

Grab the corner as shown and apply hot glue to the tip and bring it toward the center.

Repeat.

Do the same for the other side.

It already looks like a bow!

Now flip up the bottom “tails”.

Then fold down the tab to cover the front part.

Glue down the tab on the back.
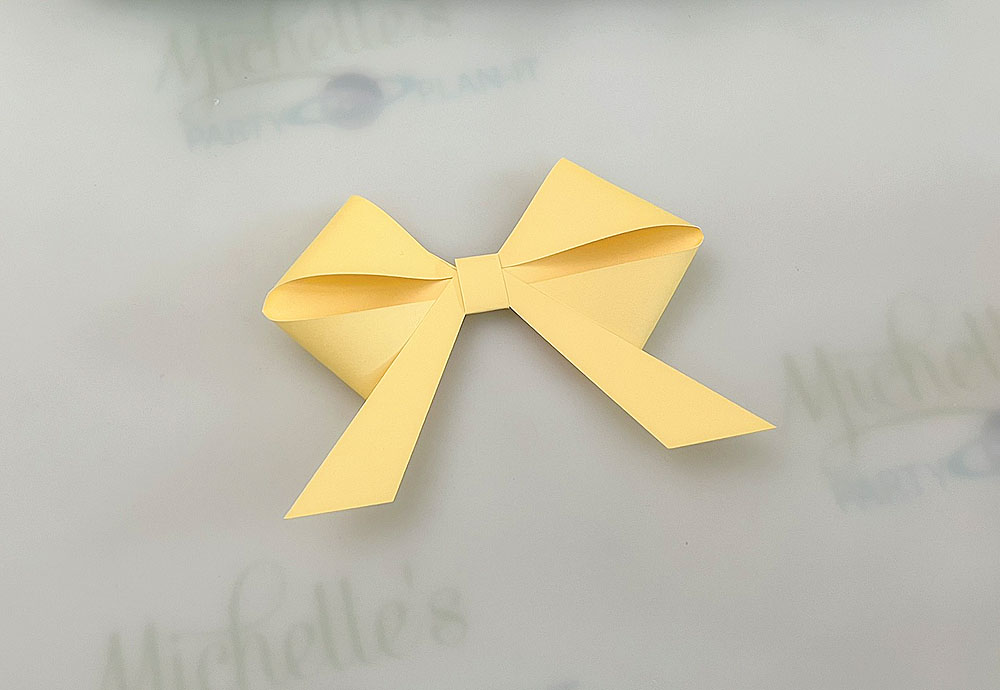
And that’s it! Wasn’t that easy?
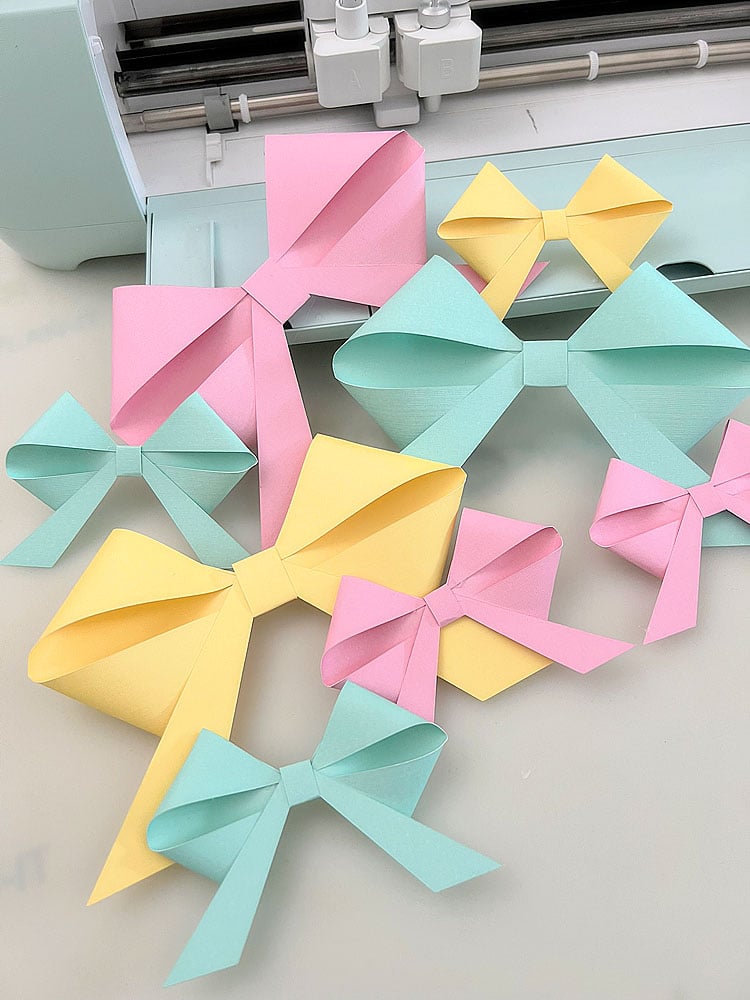
Adding Your Bow to Projects
Your bow is ready to shine! Stick it on a gift with some double-sided tape, hot glue it to a card, or attach it to a hair clip for a cute accessory. I love popping these on mason jar lids for party favors—total crowd-pleaser. Play with different papers and sizes to match your vibe—glitter for holidays, pastels for baby showers, you get the idea.
Tips and Tricks
- Test Cut: If you’re using a new paper type, do a test cut on a scrap first to nail the settings.
- Layering: Want a fancier bow? Try faux leather! Of course you’ll need to adjust your settings accordingly.
- Storage: Keep extra bows in a small plastic tote so they’re ready for your next project.
- Cricut Joy Hack: If you’re using a Joy, resize the bow to fit the smaller mat—just scale it down in Design Space.
Wrapping It Up
There you have it, friends—a full-on tutorial to make paper bows with your Cricut! From Design Space to the final glue dot, this project is all about quick, cute, and customizable fun. I’d love to see your creations, so tag me on social media @michellespartyplanit. Happy crafting, and let’s make every celebration a little more fabulous, one bow at a time!

PIN FOR LATER!
1 comment
Thanks for the how-to! I am definitely going to try my hand at this! What type of blade or did you say?
You are so talented!
I want the file to make the bows, but I already signed up to receive your newsletters and did not want to duplicate my info on your database.