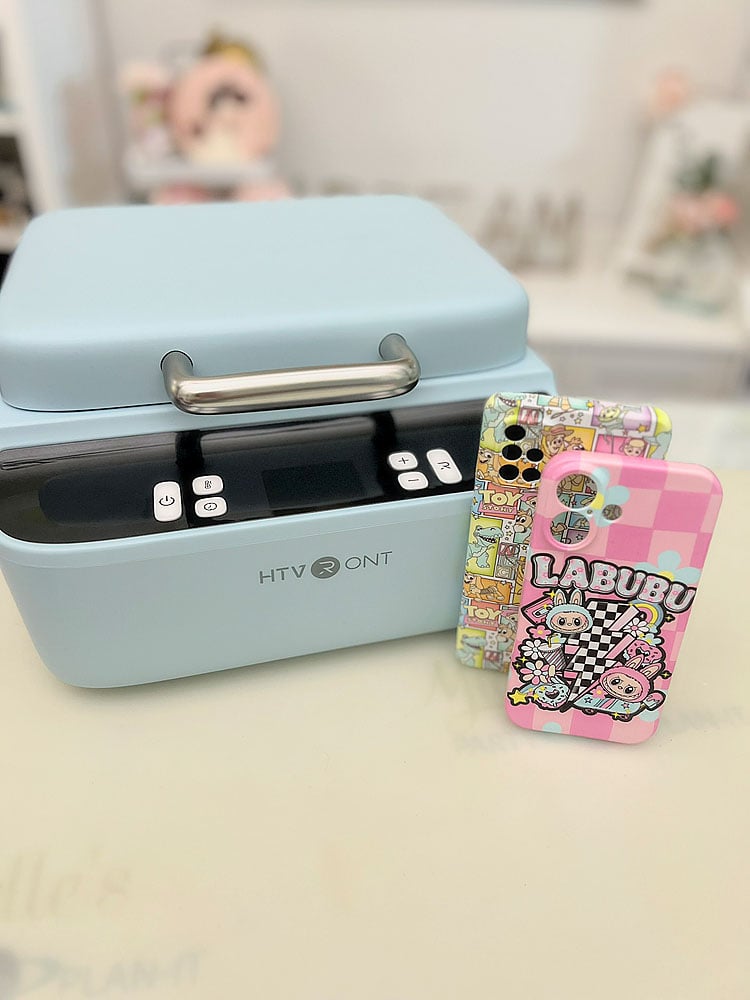
Hey there, crafty friends! I’m so excited to share my latest obsession: creating custom phone cases with the HTVRONT H17 Phone Case Heat Press. This machine is a total game-changer for making personalized iPhone and Android cases that look like they came straight from a boutique. If you’re crafting for yourself, gifting a friend, or starting a side hustle, this tutorial will walk you through every step to make a phone case that’s uniquely you. Plus, the HTVRONT H17 can do way more than phone cases—think coasters, badges, and keychains! Ready to get crafty? Let’s dive in!
Disclosure: I received the press from HTVRONT. All opinions are 100% mine. This post contains affiliate links and I will be compensated if you make a purchase after clicking on my links, at no additional cost to you. #HTVRONT
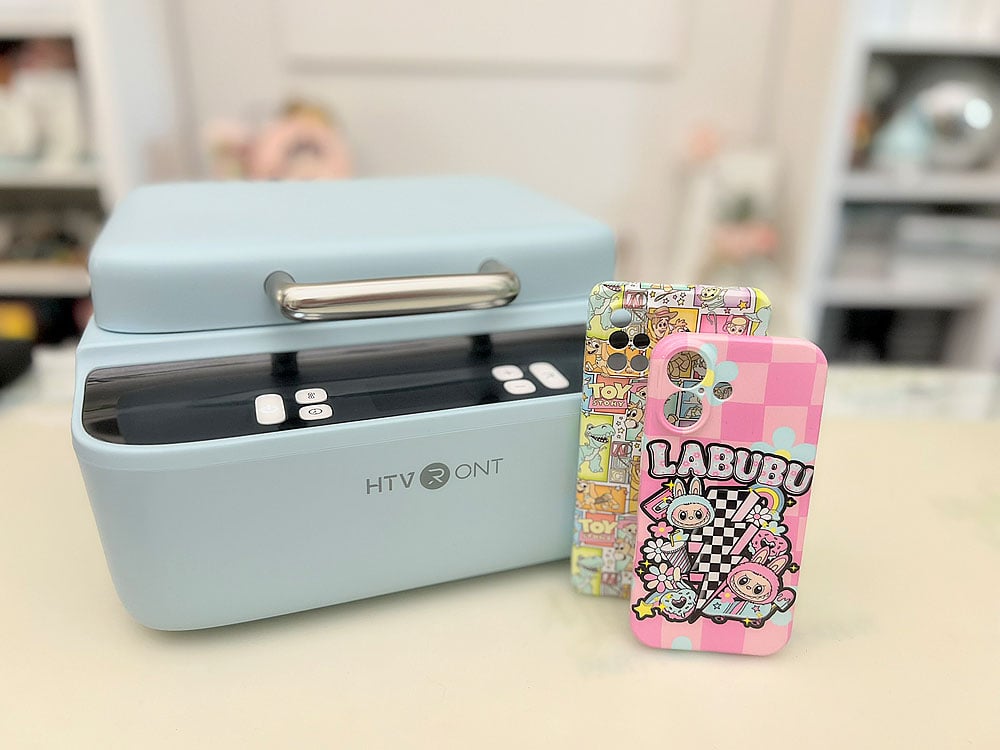
Why I Love the HTVRONT H17
I’ve been crafting forever, and I’m always on the hunt for tools that make my projects easier and more professional. The HTVRONT H17 is my new go-to because it’s:
-
Super Flexible: Works with newer iPhone models and Android cases (Samsung, Google, Huawei) using a universal fixture.
-
Pro-Level Tech: Its vacuum system wraps designs around curved edges (up to 135°) for a smooth, vibrant finish every time.
-
Crazy Easy: Fully automatic, so you don’t need to stress about getting the settings perfect.
-
Multi-Purpose: You can use it for phone cases, ceramic ornaments, pleather coasters, and more.
I’m all about projects that are fun, affordable, and look amazing, and this heat press checks all the boxes. Let’s get started on making a custom phone case that’ll have everyone asking, “Where’d you get that?!”
Supplies You’ll Need
Here’s what I used to make my phone case. Most of these come with the HTVRONT H17 kit or are available on their website:
-
HTVRONT H17 Phone Case Heat Press
-
Universal phone case fixture set (iPhone or Android)
-
Sublimation printer (I use my Sure Color F170)
-
Sublimation film (A4 size, often included in bundles)
-
Heat-resistant gloves (included with the machine)
-
Heat-resistant tape (included)
-
Lens pads (included with fixture sets)
-
Lint-free cloth
-
Sublimation paper or thick cardstock
-
Washi tape
-
Phone case blank (iPhone or Android)
-
Free LOKlik Idea Studio software
-
A fun design (I went with a Toy Story theme, but you do you!)
If you’re like me and love a good deal, check out HTVRONT’s bundles for sublimation film and blanks to save some cash.
I created a quick video, check it out below:
Step-by-Step: Making Your Custom Phone Case
Let’s break this down into easy steps. I’ll share what worked for me and a few tricks I learned along the way.
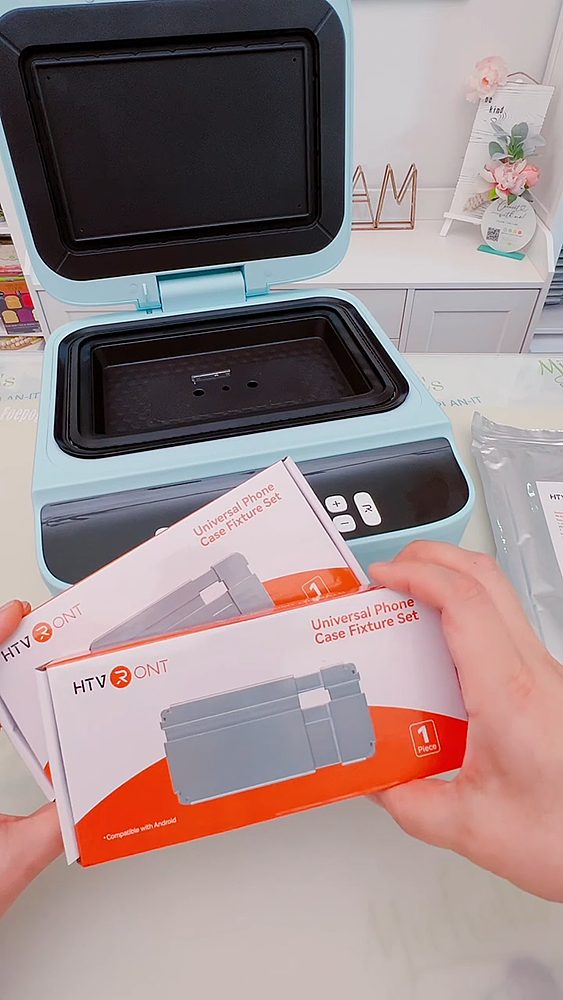
Step 1: Set Up the Heat Plate
The HTVRONT H17 comes with a universal fixture for phone cases, so you can make cases for iPhones or Androids. Here’s how to get it ready:
-
Check the Chart: The machine comes with a handy chart that tells you how to set the fixture for your phone case model (like Galaxy A51 5G or iPhone 14). It’s super straightforward.
-
Secure the Case: Pop your phone case blank into the fixture. You want it to fit snug as a bug—tight enough to stay put but not so tight it’s a wrestling match.
-
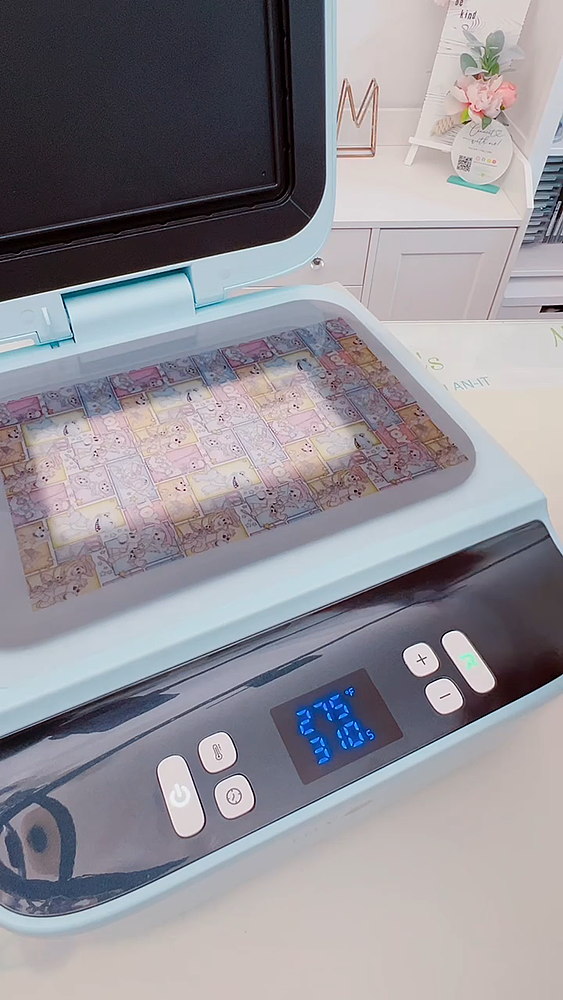
Preheat the Press: Place the fixture in the heat press, turn it on, and set it to 275°F for 310 seconds (that’s about 5 minutes). Preheating helps the design stick evenly.
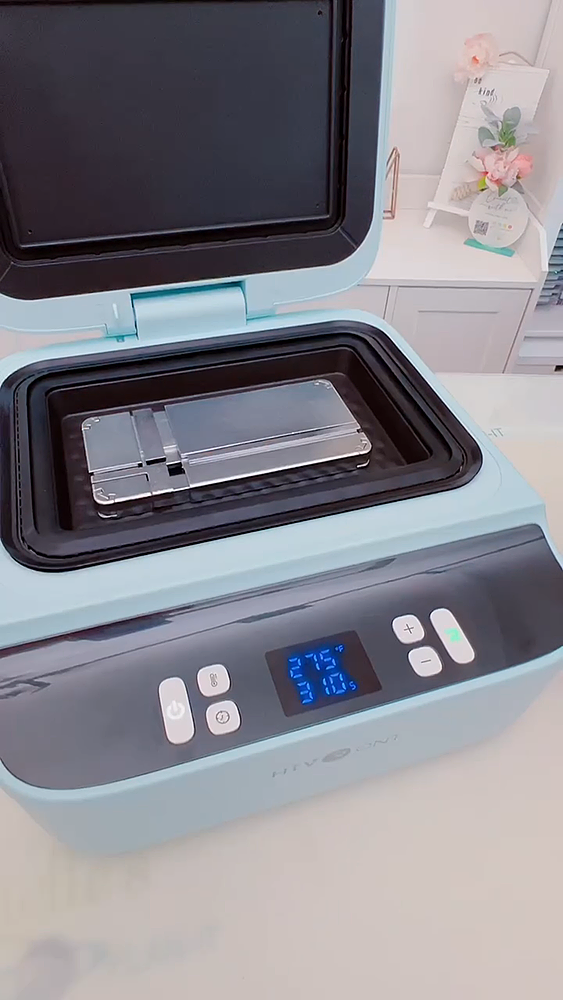
My Tip: I always double-check the fit. A loose fixture can mess up your transfer, and nobody’s got time for that!
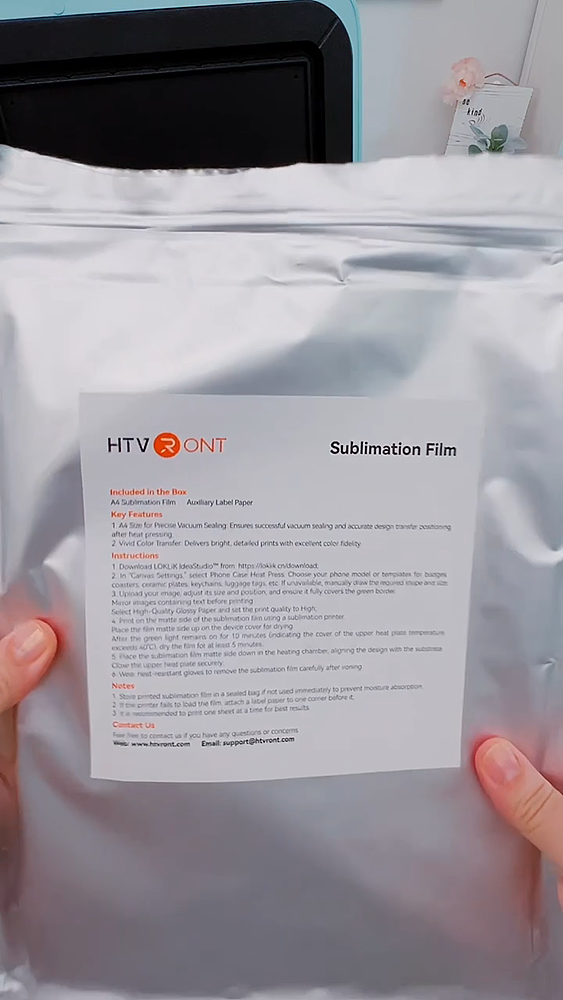
Step 2: Prep the Sublimation Film
Sublimation film is the secret sauce for vibrant designs. Here’s how I set it up:
-
Find the Right Side: The film has a matte side (where you print) and a glossy side. Print on the matte side, or you’ll have a hot mess.
-
Tape It Down: My printer sometimes struggles with the thin film, so I tape it to a piece of sublimation paper or thick cardstock with washi tape. Glossy side up, matte side down.
-
Load the Printer: Clear out any other paper from your sublimation printer (I use my Sure Color F170) and slide in the film with the carrier paper.
My Tip: I reuse the same piece of cardstock for multiple prints to save a little money. Every penny counts, right?
Step 3: Design and Print Your Masterpiece
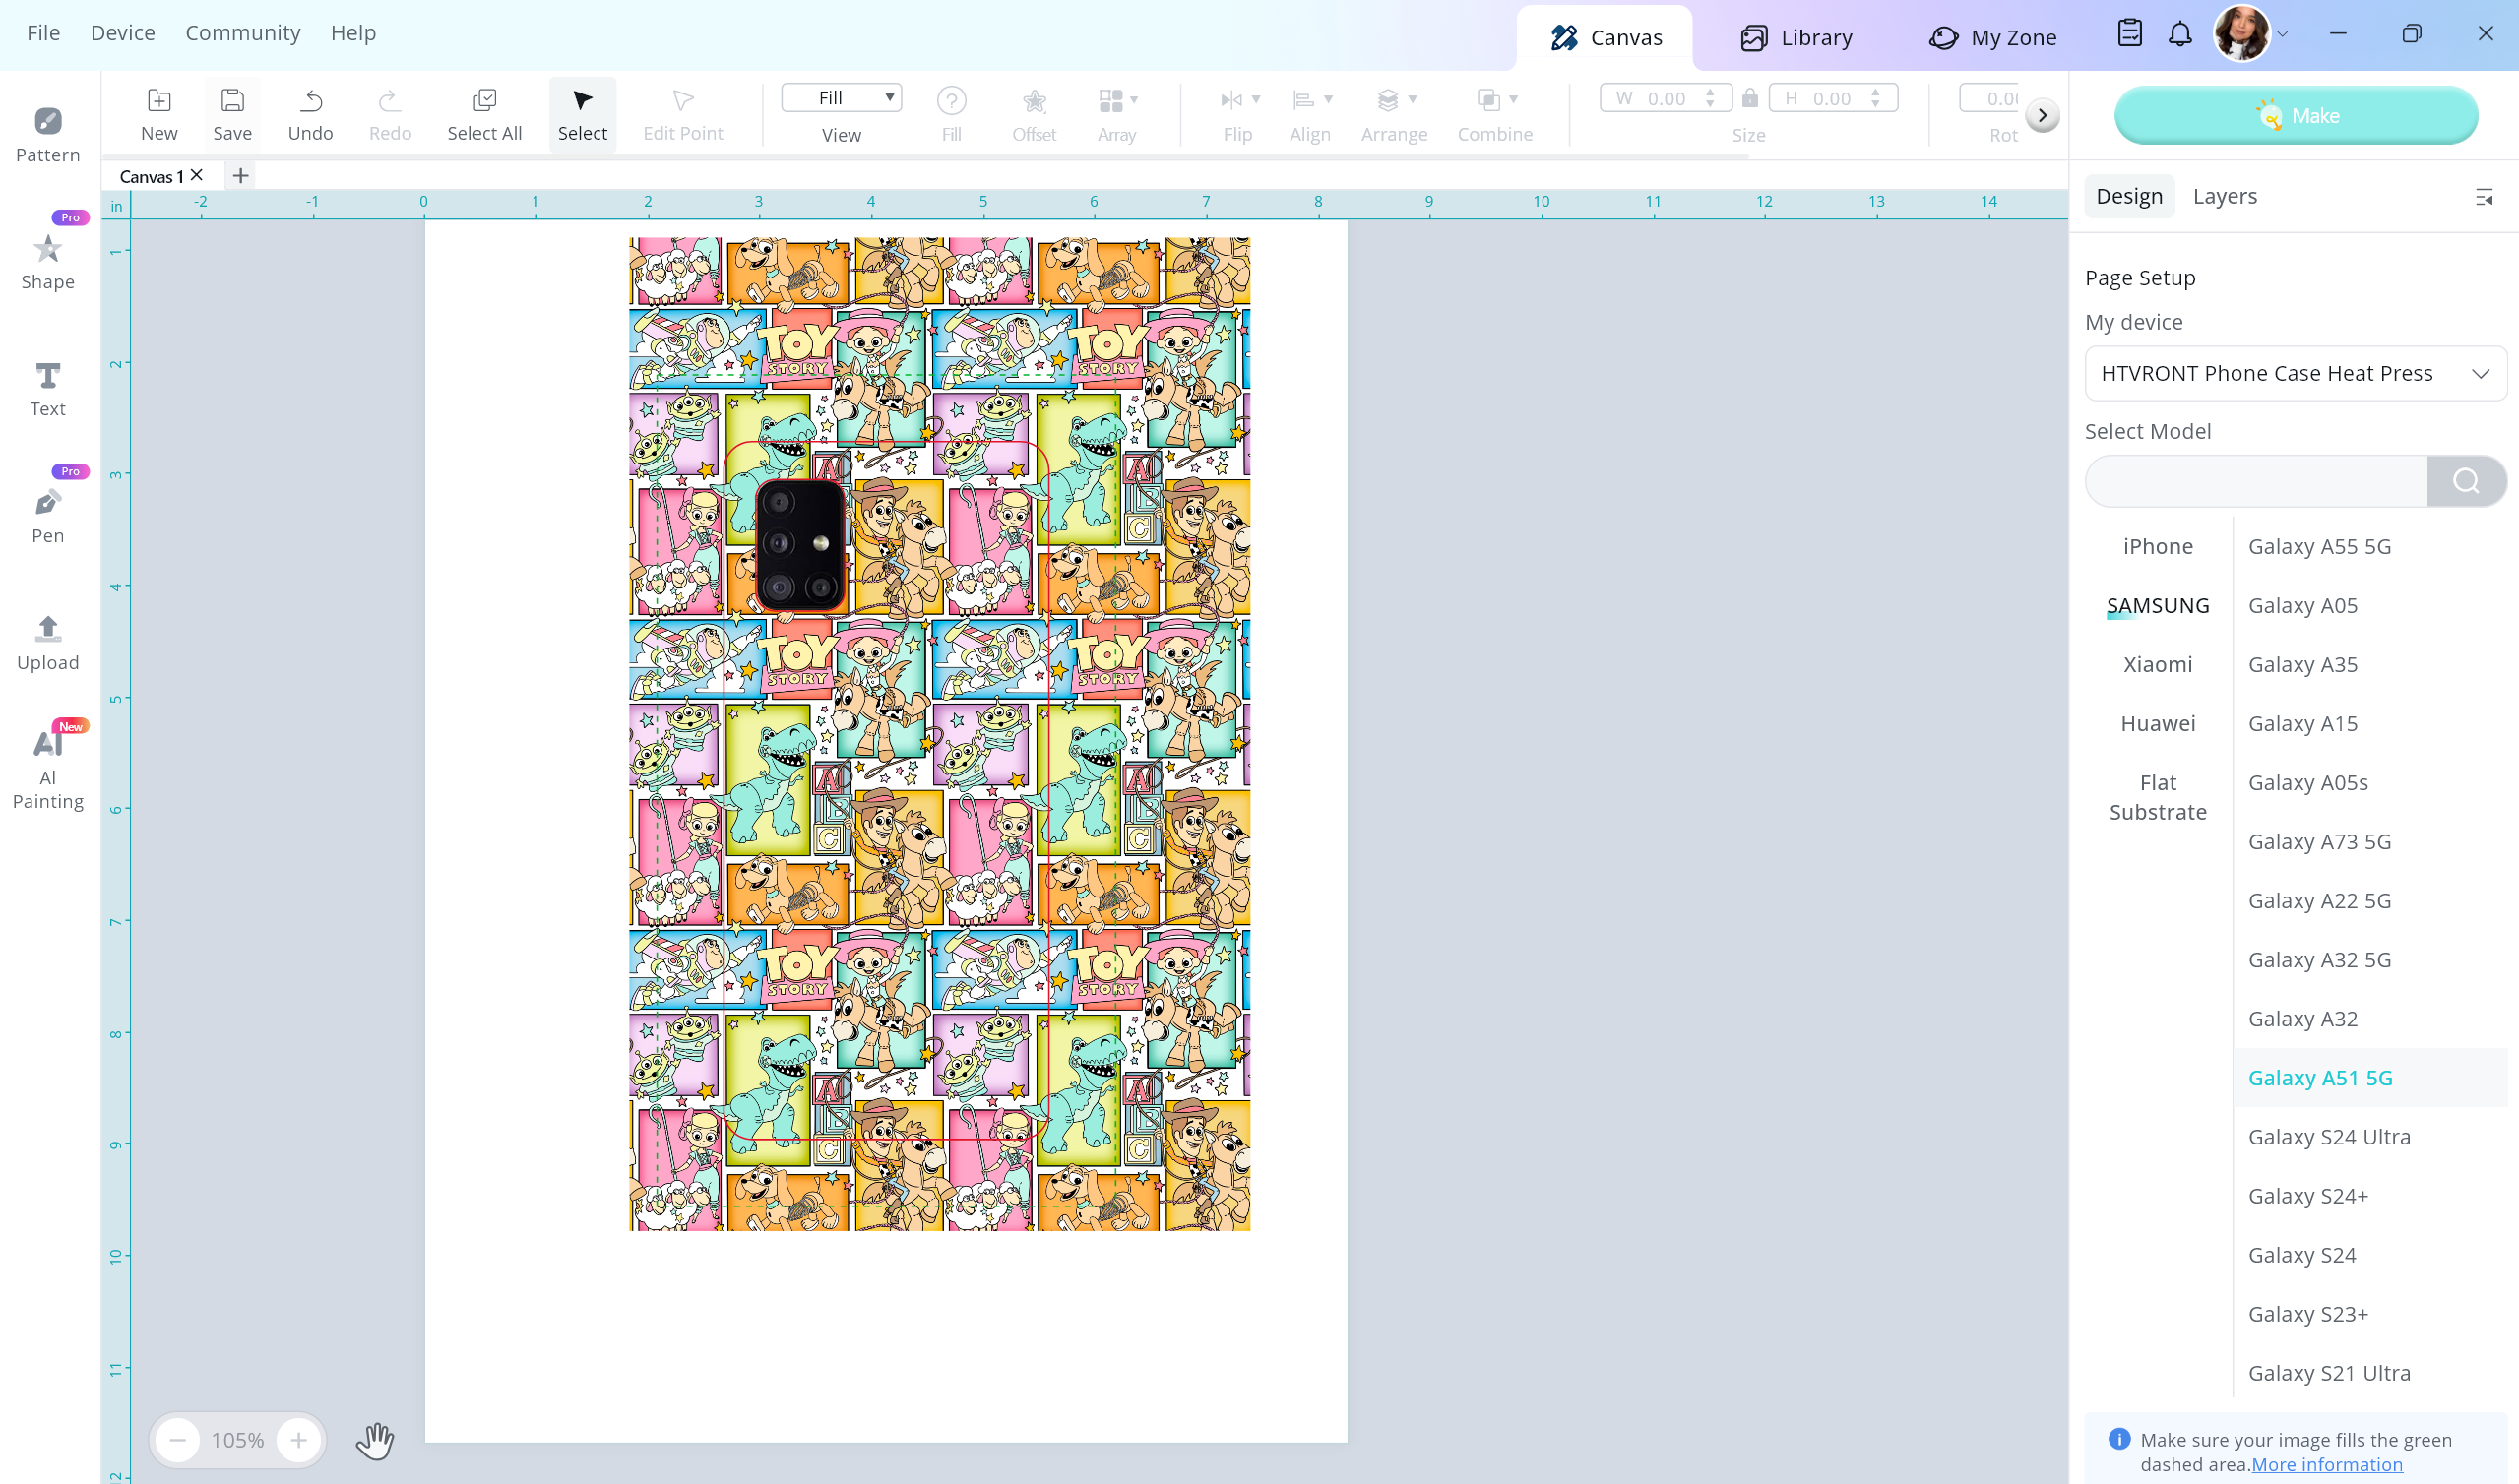
Time to get creative! I use LOKlik Idea Studio because it’s free and makes lining up designs a breeze.
-
Pick Your Template: Open LOKlik Idea Studio and choose the template for your phone case (e.g., Galaxy A51 5G). This keeps your design perfectly sized.
-
Add Your Design: Upload your image—I went with a Toy Story vibe because who doesn’t love Woody and Buzz? Make sure it fits the template.
-
Mirror It: In the print settings, hit “Mirror Image” so your design doesn’t end up backward.
-
Print High-Quality: Set the quality to “High” for crisp, bold colors, then hit print. The ink goes right onto the matte side of the film.
My Tip: If you’re stuck for ideas search Etsy, or you can create your own with Canva or Photoshop.
Step 4: Dry the Print
Freshly printed sublimation film needs to dry to avoid smudging. Here’s what I do:
-
Peel Off the Tape: Gently remove the washi tape and cardstock without touching the ink.
-
Dry It Out: Lay the film matte side up on top of the preheated heat press. Let it sit for about 5 minutes at 275°F. This dries the ink without transferring it to the machine.
Step 5: Clean and Prep the Phone Case
A clean phone case is key for a flawless transfer:
-
Wipe It Down: Grab a lint-free cloth and give the phone case blank a good once-over to remove any dust or fuzzies.
-
Cover the Camera Area: The HTVRONT kit includes lens pads to protect the camera cutout. Pick the right size, place it over the lens holes, and secure it with heat-resistant tape. I usually add an extra piece of tape for good measure.
Step 6: Press the Design
Now for the fun part—bringing your design to life!
-
Glove Up: Put on the heat-resistant gloves that come with the H17.
-
Place the Case: Set your phone case blank on the preheated fixture in the press.
-
Line Up the Film: Lay the sublimation film matte side down (ink against the case, glossy side up). Line it up carefully so the design covers the whole case.
-
Close and Press: Shut the lid, and the H17’s vacuum tech will kick in, sucking the film tight against the case. Let it cook for 310 seconds at 275°F.
My Tip: Don’t cut the film to size—it needs to cover the whole vacuum seal for that edge-to-edge magic.
Step 7: Peel and Cool
When the press beeps, it’s go time!
-
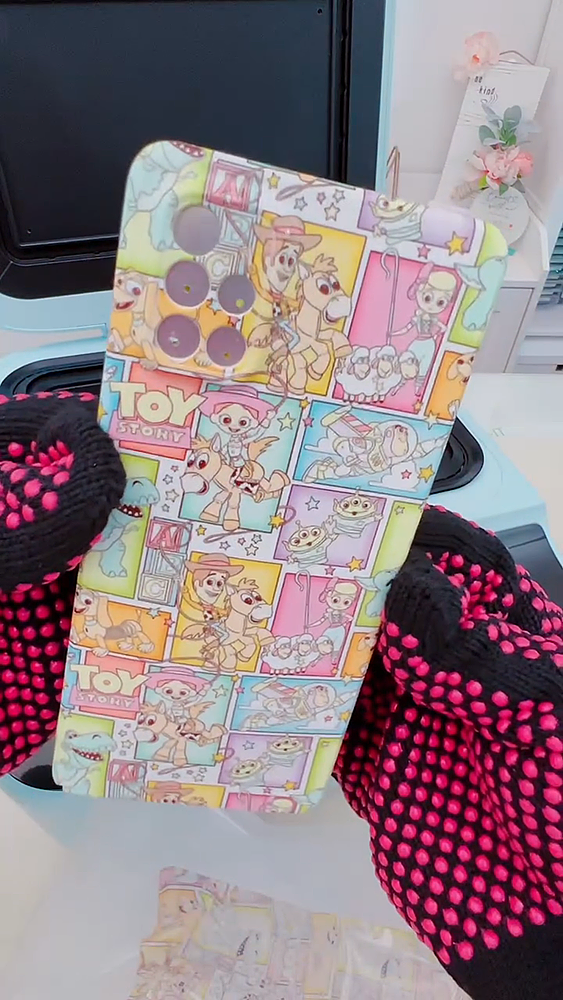
Open the Press: Pop the lid open, keeping those gloves on because it’s hot!
-
Hot Peel: Peel off the sublimation film right away while it’s still warm. This “hot peel” gives you the cleanest transfer.
-
Remove the Lens Pad: Take off the tape and lens pad carefully.
-
Let It Cool: Set the phone case aside to cool before popping it on your phone.
My Tip: The vacuum tech wraps the design around the edges so smoothly—it’s like store-bought, but way cooler because you made it!
Step 8: Admire Your Work
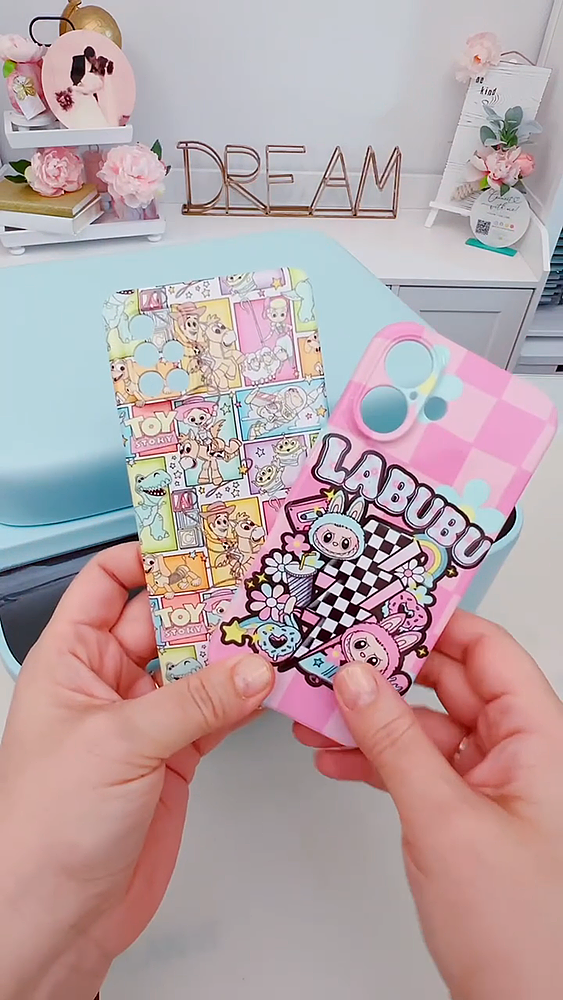
Your phone case is done, and it’s probably adorable (mine was a Toy Story masterpiece!). Check that the colors are vibrant, the edges are covered, and the camera area is clean. If it looks as good as mine did, you’re gonna want to show it off.
More Fun with the HTVRONT H17
This machine isn’t a one-trick pony. I got a sample kit with ceramic ornaments, pleather coasters, and sublimation badges, and I can’t wait to play with them. You’ll need to tweak the temp and time for different materials—check HTVRONT’s manual for the details.
My Tips for Success
-
Shop Smart: Grab HTVRONT’s sublimation film and blanks for consistent results.
-
Stay Safe: Those gloves are your best friend when handling hot stuff.
Where to Get the HTVRONT H17
You can snag the HTVRONT H17 on their official website. Single-fixture kits start at $279.99, and dual-fixture ones are $299.99 (keep an eye out for pre-sale deals). I love their bundles with film, blanks, and extras to get you started without breaking the bank.
Order with my affiliate link and use discount code MICHELLE45 for $45 off, valid until August 18th.
Wrapping It Up
The HTVRONT H17 Phone Case Heat Press makes crafting custom phone cases so easy and fun. Whether you’re making a one-of-a-kind gift or building your Etsy shop, this machine delivers pro results without the fuss. I had a blast making my Toy Story case, and I know you’ll love creating your own designs too. Want to show off your creations? Drop a comment below or tag me on Instagram @michellespartyplanit or Facebook. And don’t forget to check out my other tutorials here for more crafty inspiration!
Happy crafting, friends!
