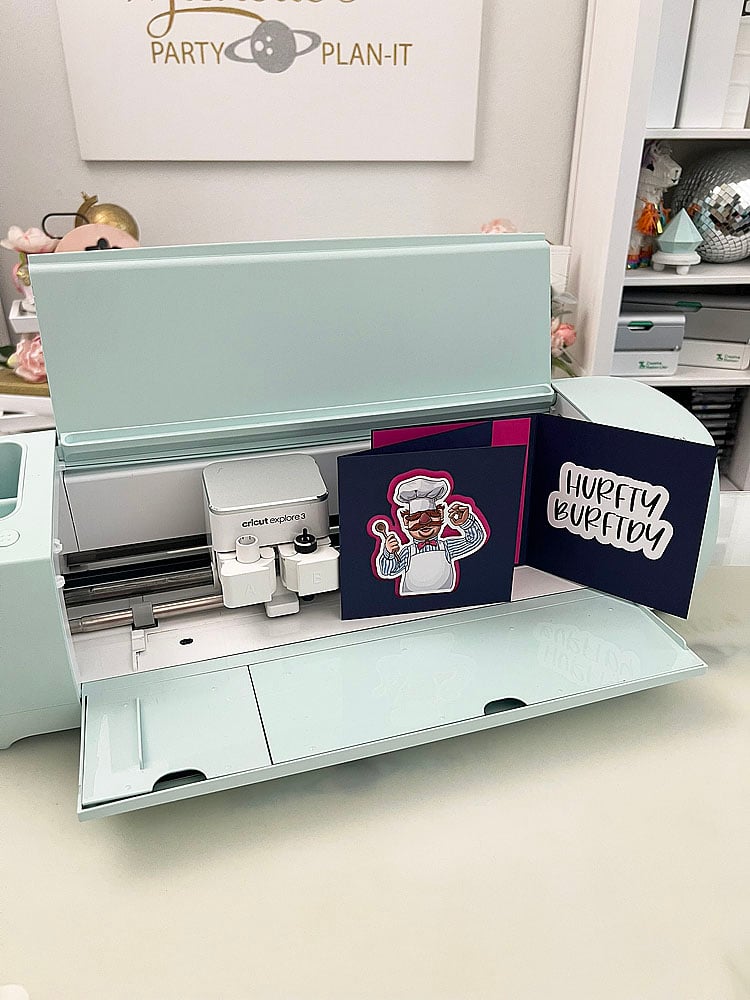
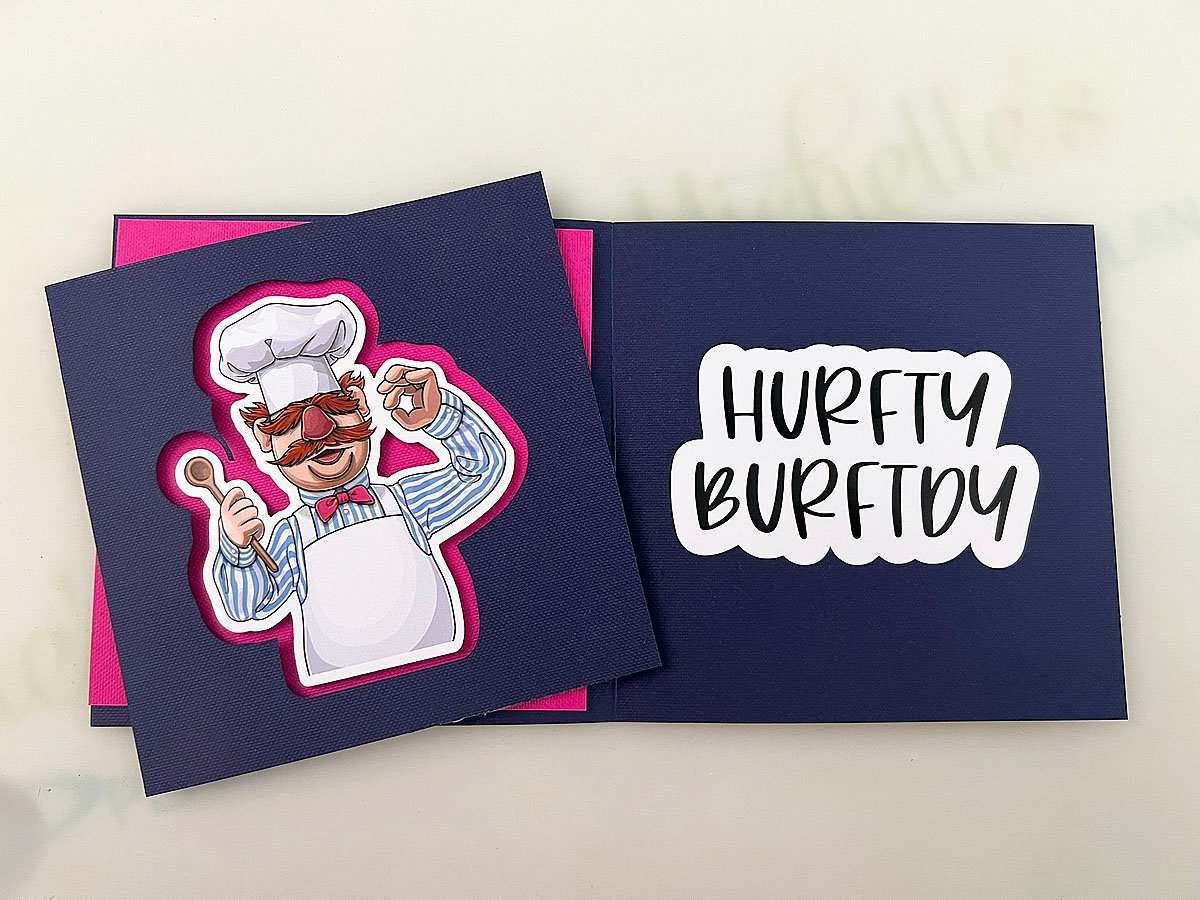
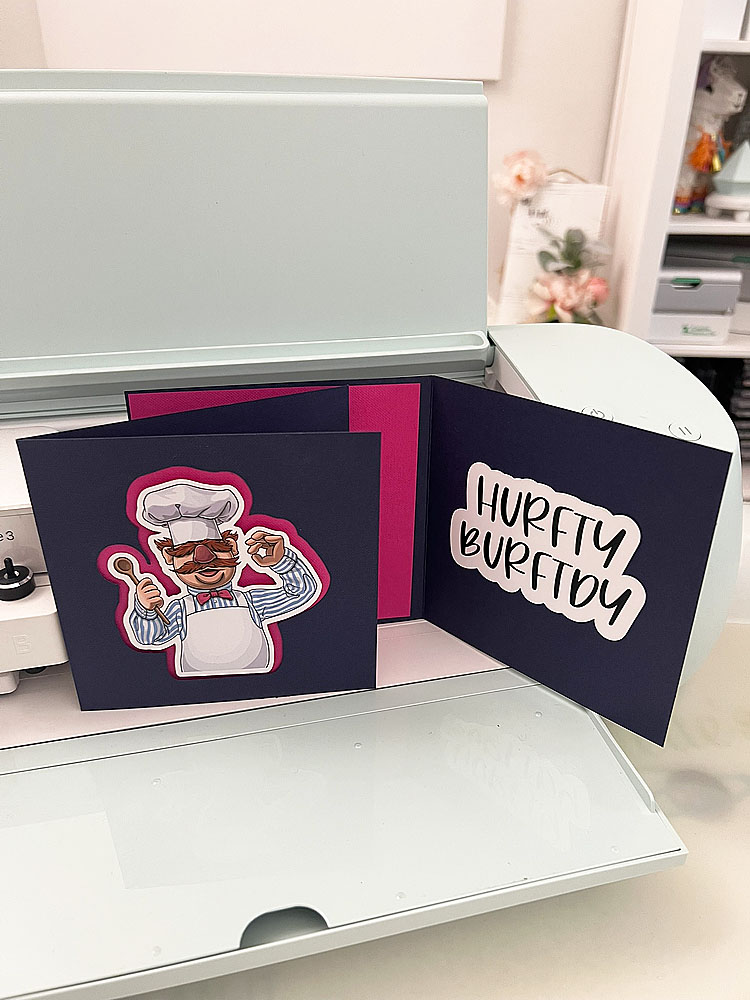
Hey friends! Today, I’m so excited to walk you through making a super fun cutout card using the Cricut Explore 3, 2×2 Card Mat, and Print Then Cut. If you’ve ever wanted to create custom cards that look totally pro but are easy to make, you’re in the right place. Let’s get crafting!
Disclosure: This post contains affiliate links and I will be compensated if you make a purchase after clicking on my links, at no additional cost to you!

How to Make a Cutout Card with Cricut
Before we dive into the step-by-step process, let’s go over the materials you’ll need to bring your design to life. Having everything ready ahead of time will make this project smooth and stress-free.
What You’ll Need
- Cricut Explore 3 (or Maker Series)
- Cricut 2×2 Card Mat
- Cricut Insert Cards (I used the S40 size)
- Inkjet Printer
- Photo Paper (for Print Then Cut elements)
- Tape Runner Adhesive
- Foam Dimensional Tape (I get mine at dollar tree)
- Light Grip Mat
- Brayer (optional, but great for adhesion)
I created a step by step video, check it out below:
Let’s go over the steps again:
Step 1: Set Up Your Card Base in Cricut Design Space
- Open Cricut Design Space and start a new project.
- Insert a square shape and size it to 4.75″ x 4.75″ (this fits the S40 card template).
- Pick a color that matches your card so you can visualize it better.
- Hide the square once you’ve got your layout ready.
- Don’t forget to save your project—you don’t want to lose your work!
Step 2: Upload and Prep Your Image for Print Then Cut
- Click Upload, then bring in your favorite clipart or image.
- Use the Background Remover tool to clean up any white areas you don’t want.
- Rename and save the image so you can easily find it later.
- Resize it so it fits nicely on your card, leaving space for text.
- If you’re making multiple cards, use the duplicate tool to copy your design.
Step 3: Add Text with an Offset for a Polished Look
- Click Text and type your message (think birthday wishes, thank you notes, or just something fun!).
- Pick a cute font from the Cricut Library—you can even upload your own!
- Switch the text from Basic Cut to Print Then Cut.
- Click Offset, set it to 0.125″, and color it white for a clean border.
- Flatten the text and offset together so they print as one image.
- Play around with the font size to make sure it’s easy to read.
Step 4: Create an Offset Cutout for Your Image
- Select your image, then click Offset.
- Increase the offset size to give it a bold, eye-catching border.
- Change the offset color to to match your insert and flatten it with your image.
- This step ensures a perfect cut around your design.
- Make sure none of your elements overlap too much—this helps with clean cutting.
Step 5: Print and Cut Your Design
- Click Make It, then select Send to Printer.
- Choose your inkjet printer and enable Use System Dialog for higher-quality prints.
- Load photo paper into your printer and print your design.
- Place the printed sheet on a Cricut Light Grip Mat.
- Load the mat into your Cricut Explore 3 and follow the prompts to cut it out.
- If your blade has been acting dull, this is a good time to replace it for crisp edges.
Step 6: Cut the Card Base with the 2×2 Card Mat
- Slide your Cricut Insert Card into the 2×2 Card Mat.
- In Design Space, pick the S40 card size for your mat.
- Move the white rollers in your Cricut machine to the center so they don’t leave marks on the card.
- Choose Insert Cardstock as your material and set the pressure to More for a precise cut.
- Load the mat and let Cricut do its thing!
- Before removing the mat, double-check that everything cut through properly.
Step 7: Assemble Your Card
- Carefully remove the cutout pieces from the mat.
- Use a tape runner to attach the Insert Card to the cutout card base.
- Stick some foam dimensional tape on your cutout image to give it a little pop.
- Position and attach the text and image to the front of your card.
Step 8: Add Those Final Touches!
- Double-check alignment and press everything down securely.
- Embellish with glitter, stickers, or ribbons for extra flair.
- Write a personal message inside your card (handwritten touches make it extra special!).
- Look over your card for any stray paper bits or glue residue.
- Store your masterpiece in a protective sleeve until you’re ready to gift it!

Extra Tips for a Flawless Cutout Card
- Use Cricut Access images for more variety.
- Play around with different colors and themes for different occasions.
- Try foil or metallic insert cards for a luxe look.
- Keep extra blades and mats handy—you never know when you’ll need them!
- If your design is intricate, slow down the cutting speed for better precision.
- Always do a test cut on scrap paper before using expensive materials.
- Adjust your printer settings if the colors aren’t coming out quite right.

Using Print Then Cut with the Cricut 2×2 Card Mat is such a game-changer for making professional, layered cards at home. Whether you’re crafting birthday cards, thank you notes, or holiday greetings, this technique lets you create something truly unique and personal. The best part? It’s super easy once you get the hang of it! So grab your Cricut, pick out some fun designs, and start crafting.
As always, happy crafting! ✂️

Want more Cricut Card Tutorials?
Check these out:
