Hello crafters! Welcome to week two of National Craft Month with Cricut! Last week I shared my excitement for the latest addition to my craft studio; Cricut Explore Air 2™! If you missed it you can catch up with it HERE.
Disclosure: This is a sponsored conversation written by me on behalf of Cricut. The opinions and text are all mine. This post contains affiliate links. #CricutMade #ad

This week I’m sharing a super easy vinyl craft, perfect for beginning Cricut users. So let’s get started!
Cutting Vinyl with Cricut Explore Air 2™ – Beginner Craft
Don’t let a new machine scare you. The Cricut machine and Cricut Design Space software are very user friendly. Cutting vinyl is a cinch!
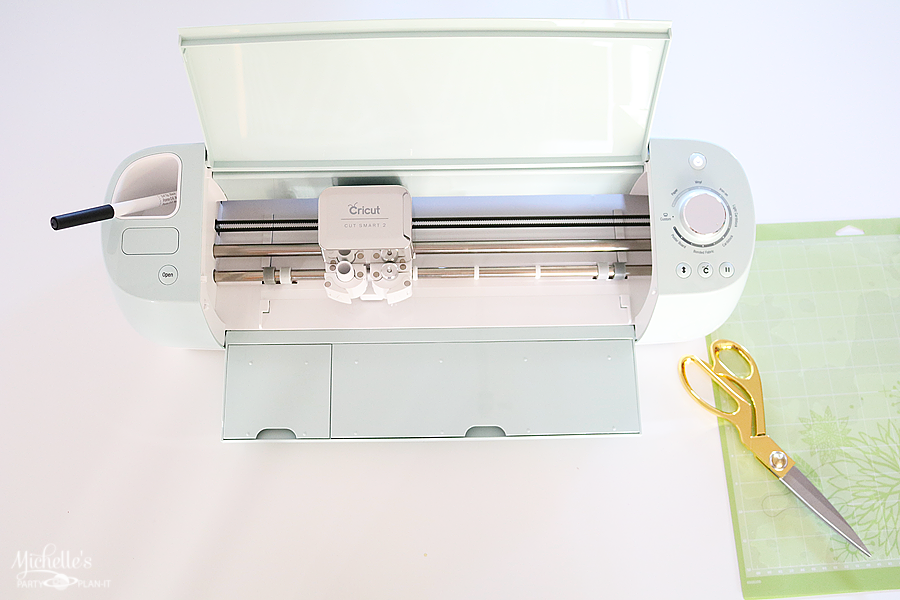
What you will need:
- Cricut Explore Air 2™
- Cutting Mat
- Cricut Glitter Vinyl
- Cricut Transfer Tape
- Scissors
- Cricut Tools
- Plain White Mug

Let’s start off with my step by step How To Video!
I’ve also added the steps below, for easy reference.
Step 1:
Open Cricut Design Space and select New Project.
Step 2:
Click Insert Image and search for a image to add to your mug. I searched “Clover” for my St. Patrick’s Day mug.
Step 3:
Resize the image by dragging the corners of the image until it’s the desired size. I wanted my image to be 2.5 inches wide.
Step 4:
To add text to your design, click the Insert Text button and type the text in the box. I wanted to change the font a little, which you can do easily by selecting a font from the menu.
Step 5:
To make sure both the image and text are cut on the same paper, change the color of the text to match the image. I simply copied the color code from the clover and pasted it to change the color of my text.
Step 6:
Once you are happy with the design, apply the vinyl to the mat and load the mat into the Cricut by pushing the arrow button.
Step 7:
Select the Vinyl setting on the dial.
Step 8:
Once the mat is loaded you can click the GO button in Design Space and the info will be sent to the Cricut. Click the Cricut Logo button on the machine to start cutting.
Step 9:
Once the design is cut, push the arrow button to unload the mat. Remove the vinyl from the mat, leaving the cut design.
Step 10:
Using your Cricut Tools; weed the vinyl to remove the little pieces in between the letters.
Step 11:
Cut a piece of Transfer Tape close to the same size of the design and remove the paper backing. Apply the transfer tape on top of your design.
Step 12:
Using a burnish tool, rub the Transfer Tape firmly on top of the vinyl. And slowly pull back the Transfer Tape. The design will then come off the paper backing for easy application.
Step 13:
Line up your design to the space on your mug and apply the vinyl. Rub the Transfer Tape firmly and slowly remove the Transfer Tape. This will leave a nice and clean design on your mug!
And that’s it, a super simple craft that also makes a great gift!
Make Money With Crafting!
Are you new to Cricut and wonder if this new obsession can turn into a thriving business? I’m sharing some useful tips to help you explore How to Make Money with Cricut!

What do you think? Are you ready to try out the Cricut Explore Air 2™? We’re just scratching the surface of what this awesome machine can do, so be sure to come back for more ideas!
Next week I’ll share how you can make your own designs easily in Cricut Design Space!
Don’t forget to subscribe to my YouTube Channel, more projects are underway!
Happy Crafting!

PIN FOR LATER!
This is a sponsored conversation written by me on behalf of Cricut. The opinions and text are all mine.

- How to Make a Mini Vinyl Record Album with Cricut
- How to Make a Disney Vacation Fund Box with a 3D Printer
- How to Make a USA 250 Sublimation Mug with the Cricut Mug Press
- We’re All Mad Here! | A Mad Tea Party
- How to Sublimate Mugs in Cricut Mug Press with Cricut Design Space
- How to Plan a Mickey Mouse Birthday Party
- How to Make a Mickey and Minnie Mouse Pumpkin
- 10 Christmas Party Games and Activities
- Mommy and Me Painting Party with Social Artworking
- How To Make Easy New Year’s Eve Party Favors
- Easy Rustic Christmas Party Decor and Dessert Table
- Easy Tart Recipes