Ok Ladies, it’s time we get real and tell it how it really is! We may be married to our Mr. Right, but he is definitely married to his Mrs. Always Right! So why not expose the truth this Valentine’s Day with a His and Hers Mug set? I’m excited to share how you can make this fun set easily in just a few steps. So let’s get started!
Disclosure: As a member of the Cricut Blogger Program, I received compensation and/or products in exchange for my styling and crafting services. As always, all opinions are my own. This post contains affiliate links, which means I get a small commission from your purchases from my links, with absolutely no extra charge to you! 🙂 #CricutMade

I must say, I am truly blessed to be married to my Mr. Right, he even brings me coffee bedside every morning. I’m the first to admit that I’m not always right, but maybe not as often as I should. (Shhh, don’t tell the Mister I said that! 😉 ) So of course, this is all tongue in cheek, but it sure makes me chuckle when I see our matching mugs!

Mr. Right and Mrs. Always Right DIY Mug Set
What you will need:
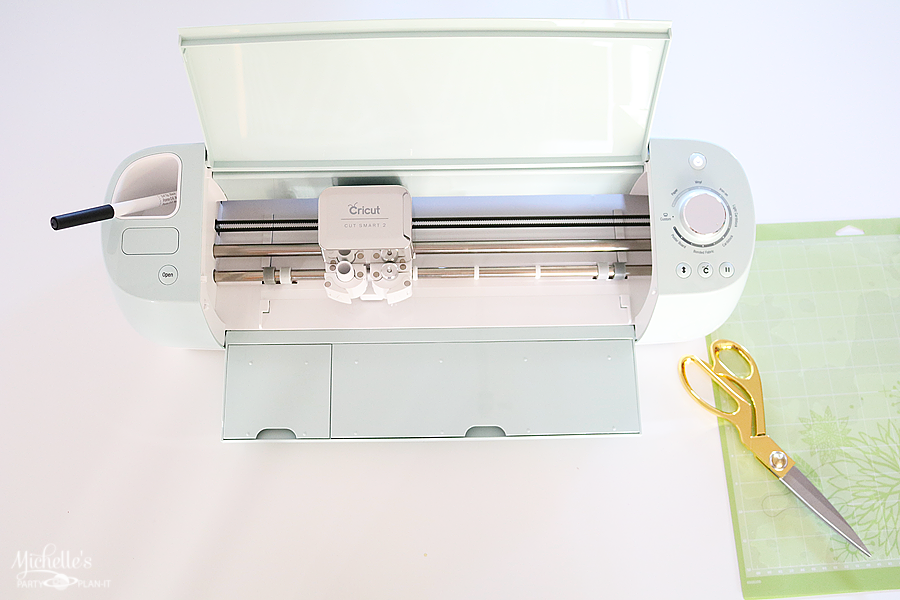
- Cricut Explore Air 2™
- Cutting Mat
- Cricut Glitter Vinyl with StrongGrip Transfer Tape
- Cricut Tools
- Scissors
- White Mugs
- Cricut Design Space
- Mr Right & Mrs. Always Right Design – Get the design HERE.

Step 1:
Open my design in Cricut Design Space and click the Make It button. The design will display on the virtual mat, then click Continue.
Step 2:
Select the Custom setting on the dial and select Glitter Vinyl on the screen
Step 3:
Once the mat is loaded you can click the GO button in Design Space and the info will be sent to the Cricut. Click the Cricut Logo button on the machine to start cutting.
Step 4:
Once the design is cut, unload the mat. Using your Cricut Tools; weed the vinyl to expose the design.

Step 5:
Cut a piece of StrongGrip Transfer Tape close to the same size of the design and remove the paper backing. Apply the transfer tape on top of your design.
Step 6:
Using a burnish tool, rub the Transfer Tape firmly on top of the vinyl. And slowly pull back the Transfer Tape. The design will then come off the paper backing for easy application.
Step 7:
Line up your design to the space on your mug and apply the vinyl. Rub the Transfer Tape firmly and slowly remove the Transfer Tape. This will leave a nice and clean design on your mug!

And that’s it, a super simple craft that also makes a great gift for you and the Mister!
I hope you give this fun project a try and be sure to check out my other CRICUT projects!
Happy Crafting!

PIN FOR LATER!
